A Reasonable Approach to Front-End Testing
David Heyman · March 28, 2018
We recently got to work with a professional testing company on one of our larger projects and I was blown away by how they handled front-end testing. My approach to front-end testing was always "bang on it enough with enough different devices and you’ll find most of the bugs." That approach works (mostly), but it’s stupid (totally).
A little while later, I was asked by a client to create a testing plan for a medium sized project. Using the experience of working with the pros (and safe in the knowledge I wouldn’t be the one actually doing the testing), I put together a quick plan. I wanted to share my experiences here because while traditional cartography prepared me for meticulously editing a map, front-end testing is something that was (and honestly still is) a bit of a mystery to me.
What does it do?
The testing plan starts with a thorough rundown of everything the map does.
We use the word map pretty liberally 'round these parts. Here, it will mean the entire application from map to non-spatial graphics, to controls.
I made a quick flow chart that shows the hierarchy of functionality in the project, listing major controls plus their options (and sub-options).

It’s a pretty thorough list but I’ve left off some of the foundational level stuff like panning, zooming, and basemap tile loading. If there’s any confusion about setting up the hierarchy, it’s probably laid out for you to see right in your UI. We have a tab for all the big stuff.
Modes and Tasks
Listing out the functionality should be really straightforward, especially this late in the development process. What’s a bit trickier is getting the difference between modes and tasks.
- Only one mode can be active at a time. They usually change the underlying structure of the map or display a different set of graphics. Not every map has multiple modes. Depending on the setup of your system, the order could be significant to testing.
- Tasks are what a user can do while in each mode. These tasks can be the same across modes or differ between them. The order tasks are performed will almost always be significant to testing.
The Perfect Plan
With the functionality all scoped out, you could theoretically create a testing plan that tests every task in every order across every mode and execute that plan on every browser across every desktop operating system and mobile device. However, that would be a bad idea.
Instead, use your functionality list to create a handful of testing scenarios. These scenarios should:
- Cover all of the modes at least once and all of the tasks multiple times
- Allow for some randomization where the tester can select a dataset or geography at random
- Also allow for randomization on the order certain tasks are performed
- Most importantly, be grounded in the reality of your actual users as you understand their workflows and potential uses of the map.
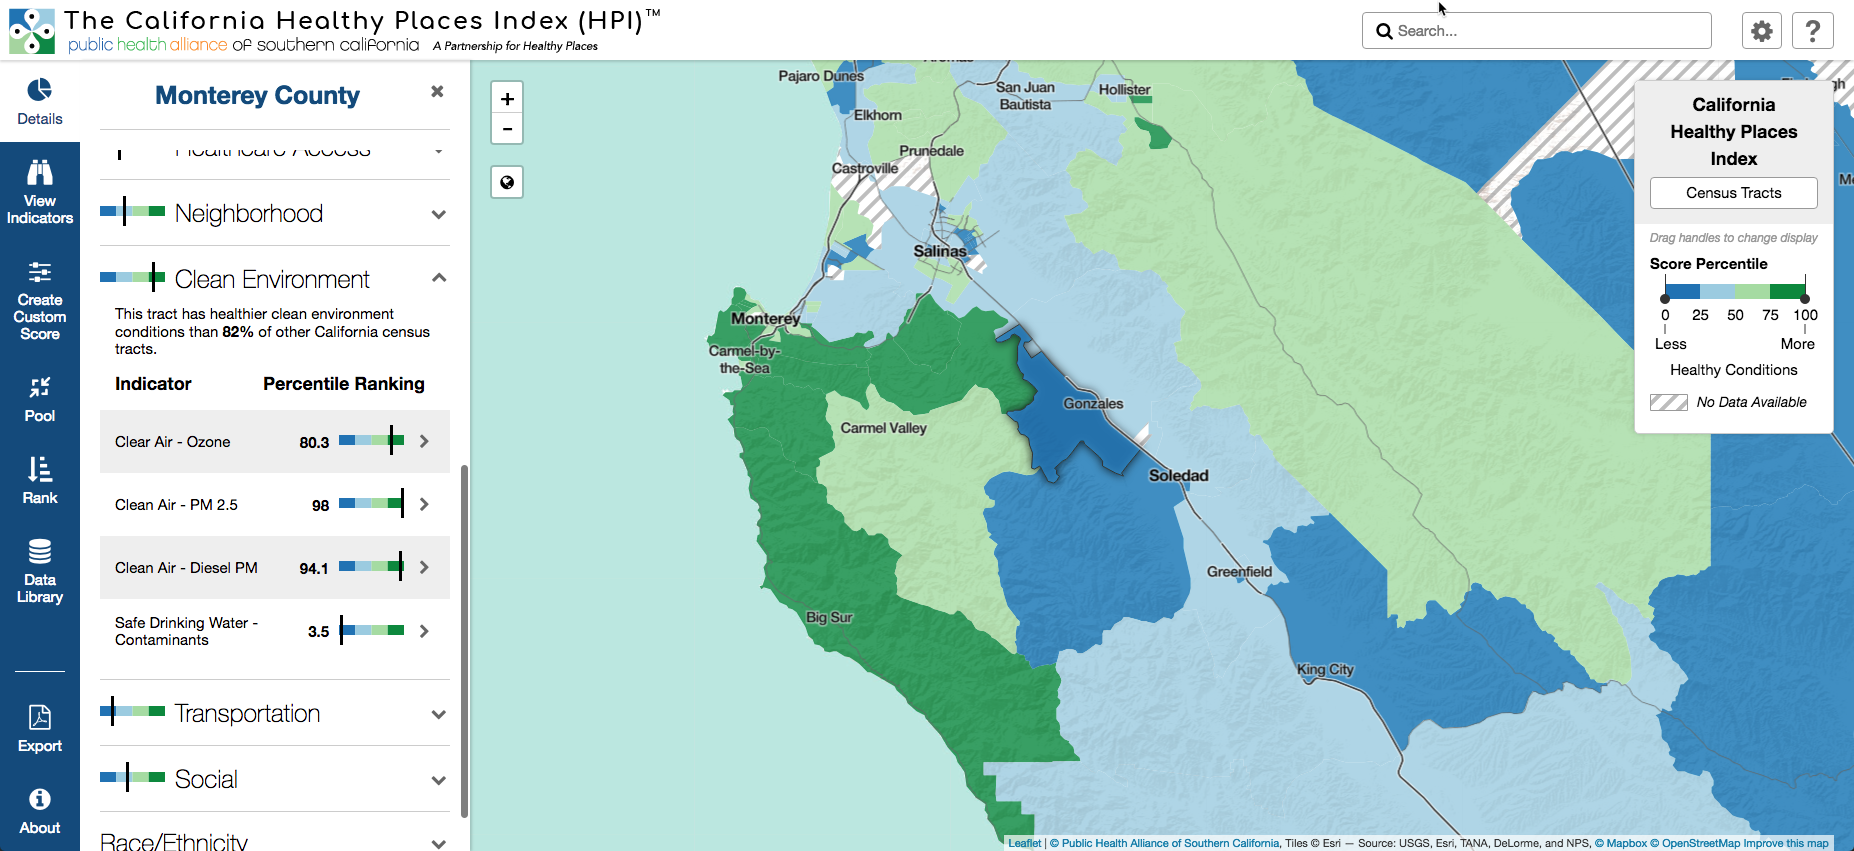
When making a plan for testing your datasets, consider how they were created. Were they created by hand? Conversely, are there any weaknesses in your data generation script that may require manual intervention? If so, instead of randomizing your datasets, create a plan that mandates all of them are tested. If you are randomizing, it's worth making a note about your datasets and geographies that are outliers. This particular plan for public health project in California requires extra attention to Los Angeles county since it has the highest density of census tracts which could (and did) lead to bugs not present in other areas.
The following testing scenario is based off a hypothetical user that has a specific idea of the indicators they’re interested in, but isn’t sure about which geography to perform their analysis.
- Load the map and select any geography
- Create a custom score using more than 5 indicators
Perform steps 3 - 5 in any order
-
Change the color scheme
-
Click any map unit to view details
-
Rank the custom score using any geography larger than what is currently selected
-
Switch to a different geography
-
Select a geographic unit and export
The other scenarios are based around other (assumed) types of users including:
- Total novice users exploring the functionality
- Users targeting a specific geographic area with no specific indicators in mind
- Expert users working extensively with the data uploading and exporting features
Doing the Testing
Now that the formal(ish) testing is ready to begin, we’re probably not going to be the ones doing it. This is because:
- It’s generally not a good idea to test your own work. You definitely know how to operate it properly and you’ll be more forgiving of an issue that’s not quite a bug but definitely not performing as expected.
- Off-loading front-end testing to the client is a good way to keep costs down. They usually have motivated staff at varying levels of involvement in the project (and a diverse set of desktop and mobile hardware setups) who are happy to help.
The problem with external testing, especially with first-time testers, is getting effective bug reports and getting them into a system where we can take action on them. To help with this, we created a bug form on Airtable based around Tom MacWright’s excellent guide to bug reporting. It let’s us collect bug reports from a large number of testers and guide them through giving us the information we need.
We then use Zapier to connect to Github so each new submission creates an issue that we can fix using our regular development workflow. The client PM is given access to the bug database on Airtable where they can track our progress through the fixes without needing to have full access to our issues (and occasional salty language) on Github.